What to think about before you start:
-
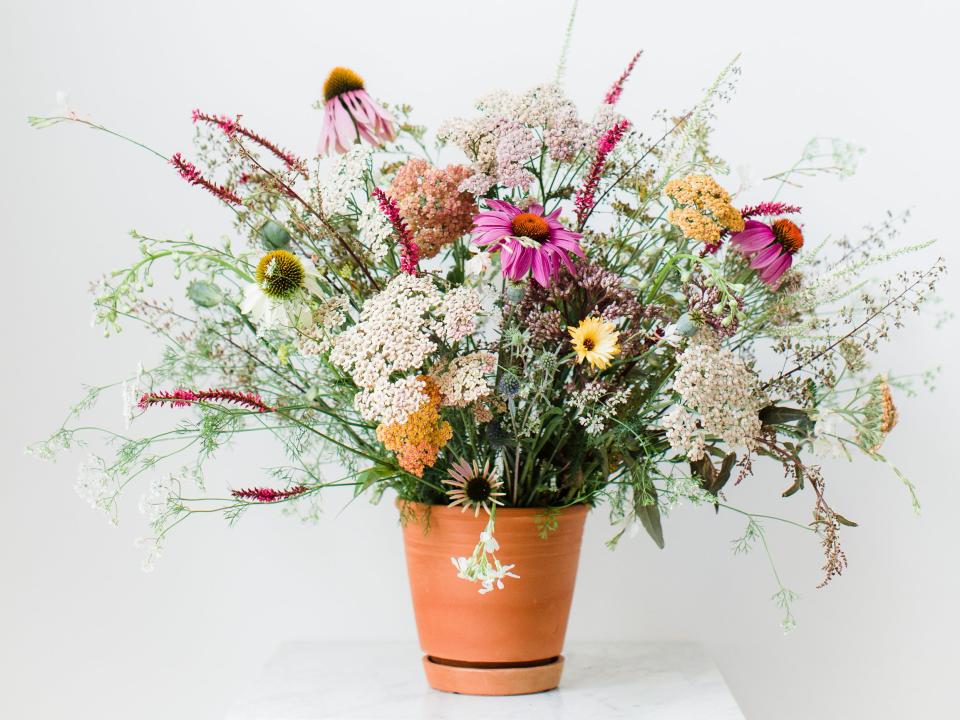
choose the right vase to match the size and height of your bouquet.
-
choose a main colour, and match both the main flowers and filler flowers to this.
-
select your flowers and foliage.
-
make sure you have the right materials (sharp knife, string, scissors)
-
pay attention to texture - by mixing grasses with flowers you get the real field-fresh look.
-
pay attention to the space between the flowers - make sure that there are no gaps.
 Get to work
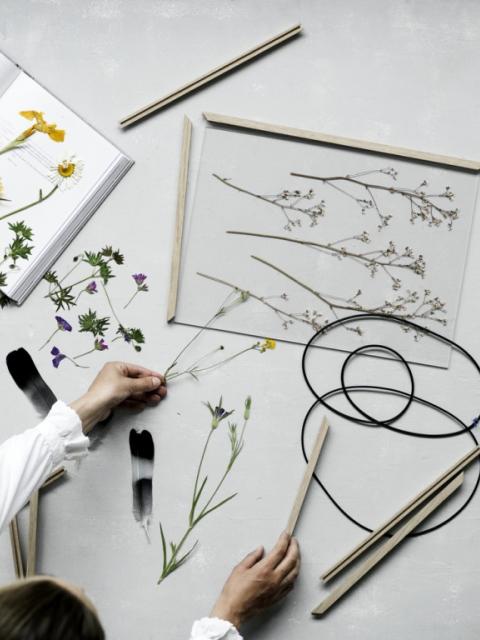
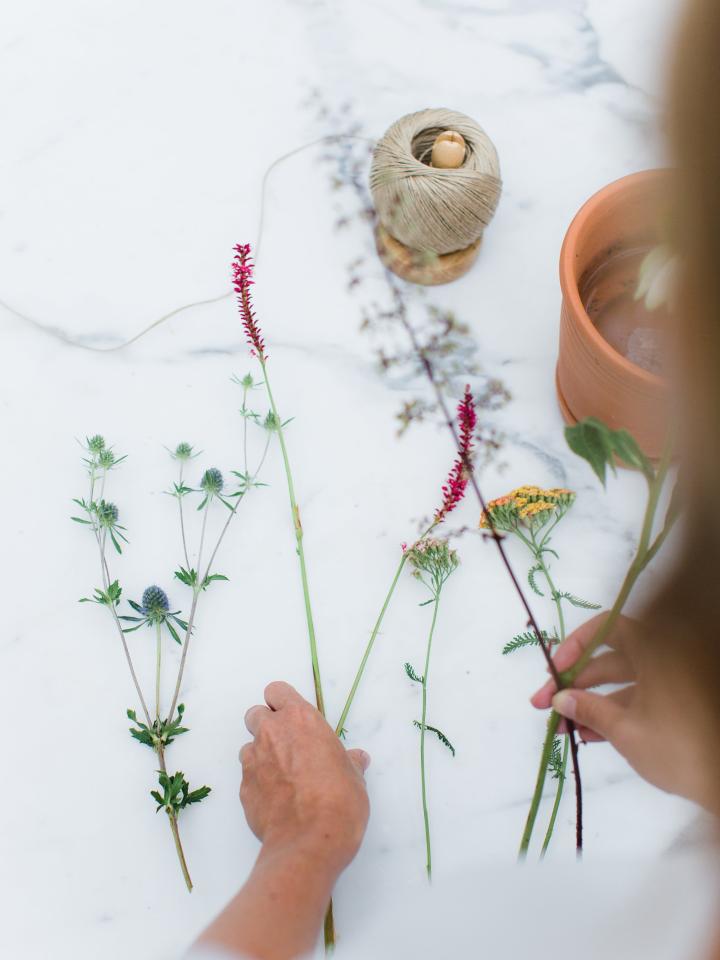
1. Make sure you have a clear and smooth work surface to create a bouquet. The kitchen table or worktop works well. Lay out all the flowers grouped by type and neatly cleaned.
2. Use the flowers as soon as possible after purchase. Remove all leaves that are unnecessary or damaged, particularly below the binding point. That will keep the water clean and give the bouquet a longer vase life! Decide how tall the bouquet should be, and pick the flowers with the shortest stems first. The bouquet will be about as tall as the shortest stem.
3. Arrange the flowers in your hand just like floral stylists do. If you’re left-handed, create a foliage base in your right hand. Hold a stem in your hand, and place the next one over it cross-ways. In front or behind doesn’t matter, as long as all the stems are pointing in the same diagonal direction of rotation. Hold the bunch firmly, but not too tightly, otherwise your hands will soon start to hurt as you arrange your bouquet, particularly if you have a large number of stems or thick stems to work with.
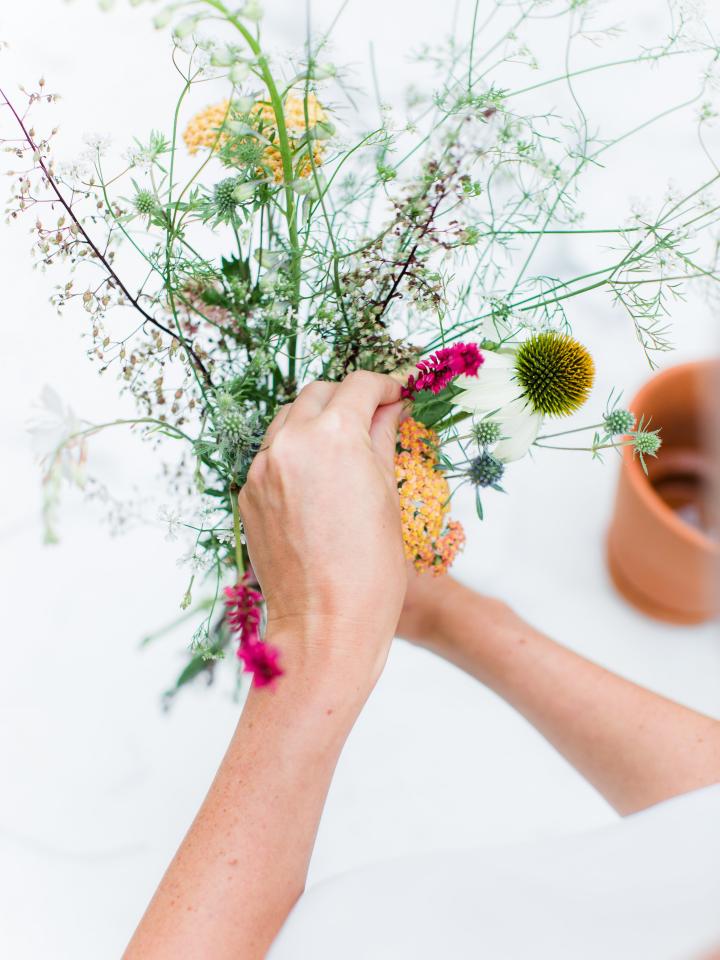
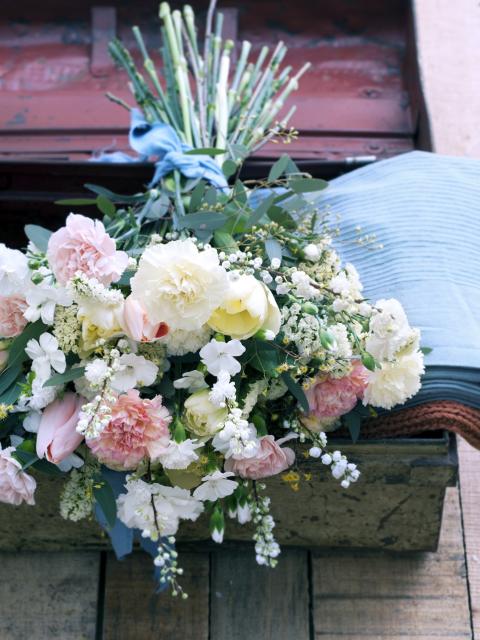
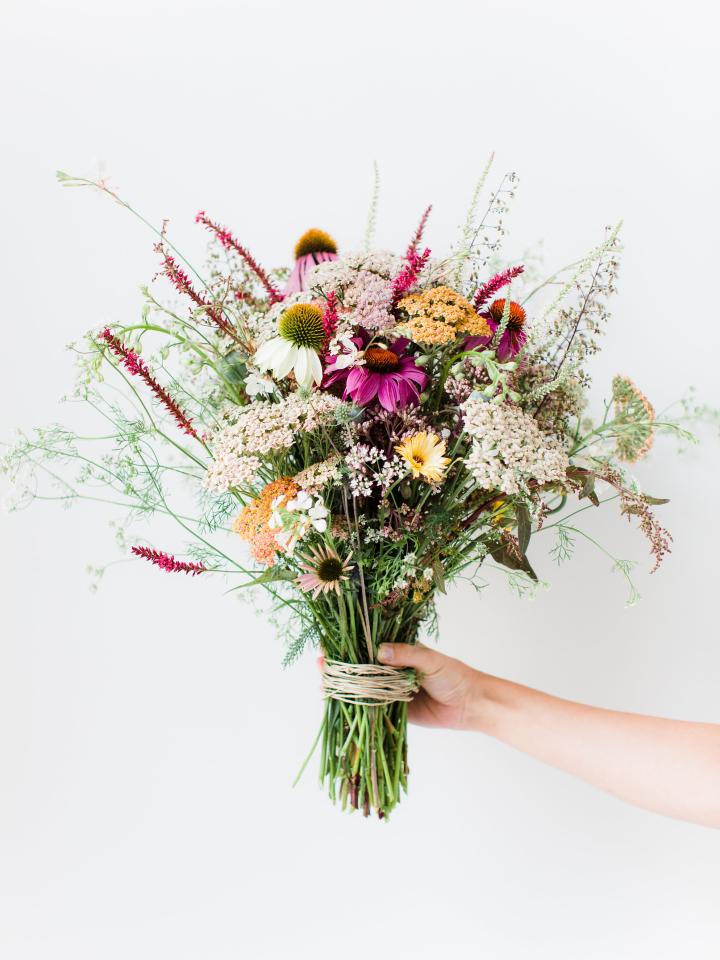
4. Now add flowers in the same way, and rotate the bouquet through 90° from time to time. The bouquet should look tidy and attractive both from the top and from all sides. With a biedermeier bouquet, try to ensure a nice even distribution and try to create an attractive hemisphere. With a field bouquet you can use the flowers more playfully and more wildly, and you can insert the flowers at different heights to give a field-fresh look! Make sure you have a good structure and use of colour to create a nice balance.
5. Hold the bouquet up and check that it is even and attractively shaped all over and that there are no gaps in the bouquet. If necessary fill the gaps with an attractive flower. Wrap an elastic band, string or wire around the centre point of the stems, just above the binding point in your hand. Trim the bouquet to the right length with secateurs by holding it next to the vase, and then trim the stems diagonally with a sharp knife so that the bouquet can take up water properly. It's better not to use scissors, since they crush and damage the ends, as a result of which the flowers are less able to take up water.
6. If you are giving the flowers as a gift, wrap the bouquet nicely in gift wrap or cellophane. If you’re keeping the flowers yourself, place them in tepid water immediately, possibly with cut flower food. That will keep the flowers looking good for longer. Regularly refresh the water to keep the bouquet looking fresh for longer!
And last but not least: experiment, try out different combinations of colours and materials. Don’t forget to share your creation with us on Facebook or Instagram! Use the hashtags #funnyhowflowersdothat and #fieldbouquet in your post so that we can find you online.
Photography by Anouschka Rokebrand, styling by Holly Marder & step plan by Nathalie Fasé.